Building an RC car from a kit is one of the most rewarding experiences in the hobby. You end up with a machine you understand inside and out, built to your standards and configured exactly how you want it. You also learn how everything works together, which makes repairs and upgrades far easier down the road.
If you have never built a kit before, the pile of bags, hardware, and instruction sheets can look intimidating.
It is not. Kit building is methodical, and if you can follow instructions and turn a wrench, you can build an RC car. Here is how to approach it from start to finish.
01 Choosing Your Kit
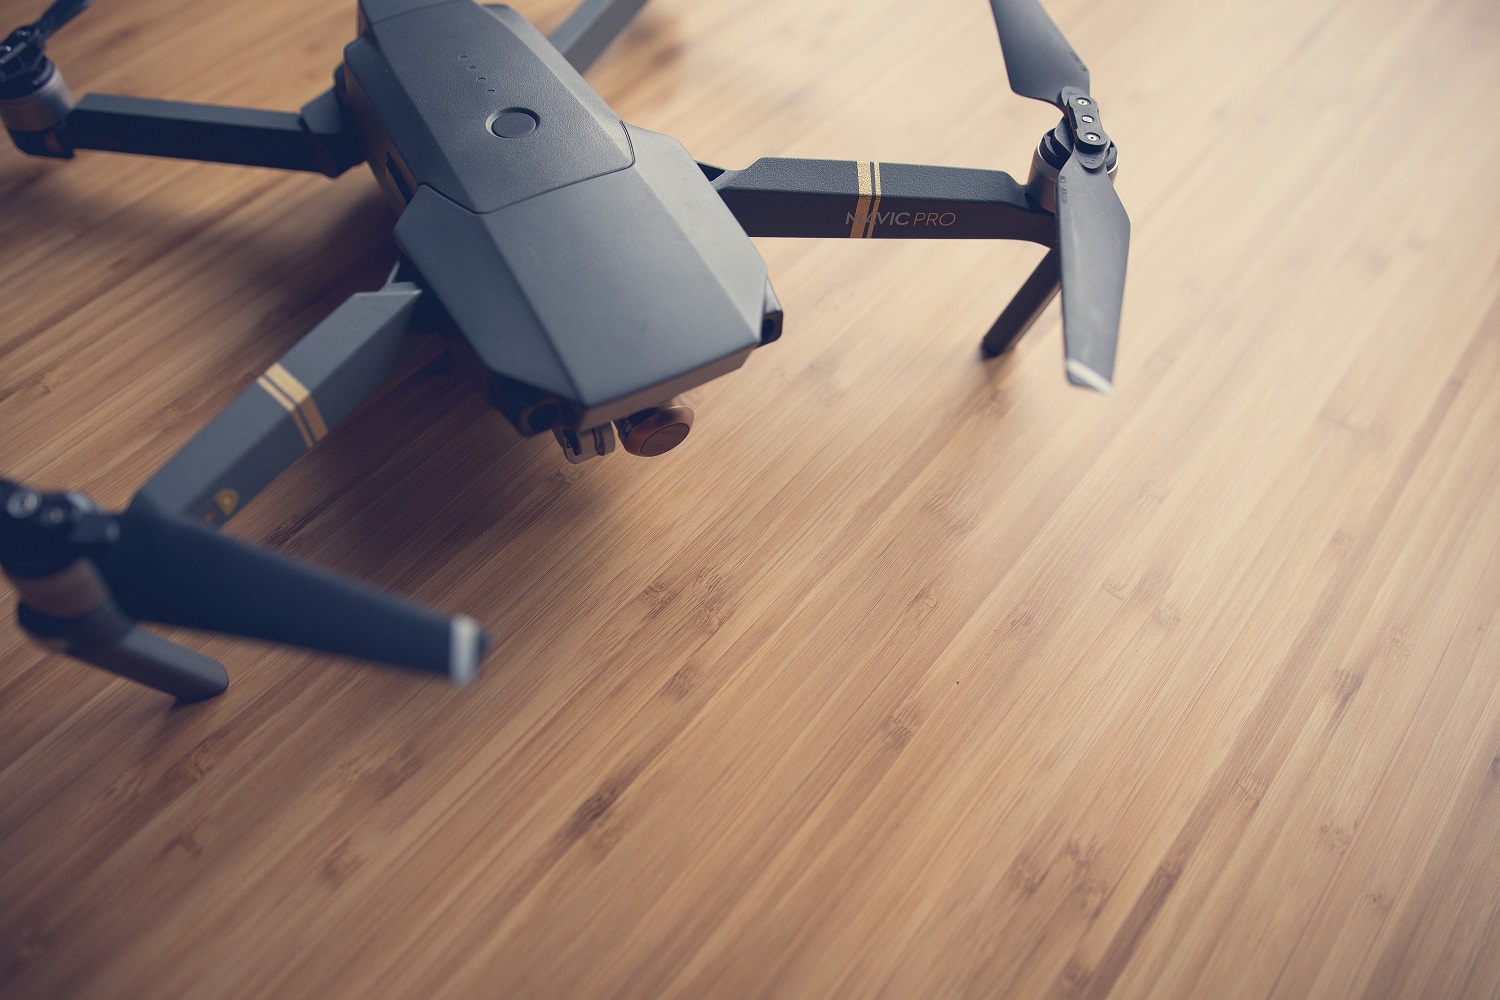
RC kits come in several levels of completeness. A true kit includes the unassembled chassis, body, and mechanical components but requires you to buy the motor, ESC (electronic speed controller), servo, transmitter, receiver, battery, and charger separately.
Some kits include electronics, which simplifies the shopping list.
For a first build, consider a 1/10 scale buggy or truck kit from Tamiya, Associated, or Kyosho. Tamiya kits in particular are known for excellent instructions and forgiving builds. They use a lot of snap-fit and screw-together construction that does not require glue or specialized tools.
If you want something more performance-oriented, Associated and Team Losi kits offer competition-level platforms that reward precise building with excellent track performance.
These kits tend to have tighter tolerances and more small parts, so they take more time and attention.
02 Tools You Will Need
Most RC kits can be built with a surprisingly small set of tools. You will need a set of hex drivers in 1.5mm, 2mm, 2.5mm, and 3mm sizes. A Phillips head screwdriver handles the remaining fasteners on most kits. Needle-nose pliers are useful for holding small parts and bending body clips.
A hobby knife helps with trimming parts from sprues and cleaning up flash.
Thread-locking compound like blue Loctite is not always required but strongly recommended for any fastener that is subject to vibration. Differential screws, shock mount bolts, and suspension arm pins are all good candidates for thread lock. Do not use red Loctite, which is permanent and will make future disassembly difficult.
A small parts tray or magnetic mat keeps screws and pins organized during the build. Losing a single e-clip under your workbench can halt progress until you find it or order a replacement.
03 Chassis Assembly
Start by reading through the entire instruction manual before touching any parts. This gives you a mental map of the build and helps you understand why steps are ordered the way they are.
Some kits have you build sub-assemblies like differentials and shocks before they go into the chassis. Others build from the bottom up.
Work in a clean, well-lit space. RC parts are small, and trying to build on a cluttered table in dim light leads to mistakes. Follow each step exactly as shown. It is tempting to skip ahead or combine steps, but the order usually matters, especially for drivetrain assembly where tolerances are tight.
When building differentials, keep everything clean.
A single grain of sand in a gear mesh will create noise and wear down the gears quickly. Apply the recommended grease or oil to gears and o-rings as specified. Over-greasing is better than under-greasing for differentials.
For shock absorbers, fill them with the recommended weight of shock oil and bleed the air out by pumping the shaft slowly several times with the cap off. Top off the oil, then install the bladder or cap while the shaft is fully compressed.
Properly built shocks have no air inside and rebound smoothly without bouncing.
04 Electronics Installation
Once the mechanical build is complete, it is time to install the electronics. The motor mounts to the motor plate or gearbox using the included screws. Set the gear mesh between the pinion gear on the motor shaft and the spur gear on the transmission. The mesh should be snug with just a tiny bit of play.
Too tight and the gears will bind, creating heat and stripping teeth. Too loose and the gears will skip under load.
A simple test is to slide a piece of paper between the gears, tighten the motor mount screws, then remove the paper. This leaves about the right amount of clearance.
The ESC mounts to the chassis using double-sided tape, zip ties, or the included mounting hardware. Route the motor wires so they do not interfere with moving suspension parts. Connect the ESC to the receiver following the manufacturer's wiring diagram.
The steering servo mounts to the servo saver or direct-drive mount in the chassis. Adjust the servo horn angle so the wheels point straight ahead when the transmitter stick is centered.
Most servos have a splined output shaft that allows you to reposition the horn in small increments.
05 Radio Setup
Bind the transmitter and receiver following the instructions for your specific radio system. Most modern 2.4GHz radios have a binding procedure that involves pressing a button on the receiver while powering on the transmitter. Once bound, the receiver remembers the transmitter and reconnects automatically.
Set the steering trim so the car tracks straight with the steering wheel or stick centered.
Adjust the steering endpoints to prevent the servo from binding at full lock. If the servo buzzes or strains at full steering input, the endpoint is set too far and needs to be reduced.
Set the throttle trim and throttle endpoint so the ESC responds smoothly across the full range of the trigger. Most ESCs have a calibration procedure where you set full throttle, neutral, and full brake positions in sequence.
This ensures the ESC uses the full range of your transmitter's trigger travel.
06 Body Preparation
If your kit comes with a clear polycarbonate body, it needs to be painted on the inside before mounting. Polycarbonate-specific paint, like Tamiya PS series or Proline paints, is designed to adhere to the inside surface of the body and show through the clear exterior.
Wash the body with soap and water to remove any mold-release residue.
Let it dry completely. Mask off the windows and any areas you want to remain clear using painter's tape or the included window masks.
Apply paint in thin, even coats. Multiple light coats produce a better finish than one heavy coat. Back the color coat with white or silver for brighter colors, or black for darker schemes. The backing coat prevents the chassis from showing through the paint.
Trim the body along the marked cut lines using curved scissors or a hobby knife. Mount the body to the chassis using body clips through the mounting posts.
07 First Drive
Before sending your new build out for a full run, do a bench test.
Hold the car off the ground and check that the wheels spin freely in both directions. Verify that the steering moves smoothly from lock to lock. Listen for any grinding, clicking, or binding in the drivetrain.
For the first actual drive, choose a flat, open area like a parking lot. Drive slowly at first and check that the car tracks straight, steers evenly in both directions, and brakes smoothly.
Listen for unusual noises from the drivetrain. A new build may have tight spots that loosen up after the first few battery packs.
Check all fasteners after the first run. Vibration from driving can loosen screws that felt tight on the bench. Pay special attention to wheel nuts, shock mount screws, and motor mount bolts. Retighten anything that has loosened and apply thread lock where appropriate.
08 Common First-Build Mistakes
Over-tightening screws is the number one mistake.
RC fasteners thread into plastic or soft metal, and it does not take much to strip a hole. Tighten until snug and stop. If a screw spins freely, the hole is stripped. A drop of CA glue can rescue a stripped plastic hole in a pinch.
Reversed parts are another common issue. If a step feels wrong or a part does not fit, stop and recheck the instructions. Forcing a part that is oriented incorrectly can break mounting tabs or damage threads.
Skipping lubrication leads to premature wear.
Every pivot point, gear mesh, and o-ring specified for lubrication in the manual needs it. The five minutes you save by skipping grease will cost you hours of rebuilding worn components later.
09 Wrapping Up
Building an RC car from a kit takes anywhere from 3 to 10 hours depending on the complexity and your experience level. The time is well spent. You will understand your car better than any RTR owner, and when something breaks on the trail or track, you will know exactly how to fix it because you built it in the first place. Take your time, follow the instructions, and enjoy the process. The first drive of something you built yourself is a feeling worth having.